How to calibrate milling depth/width
Basic calibration procedure:
- Insert the tool high up, ensure its completely covered by the sock.
- Positioning: Move the toolhead to the center of your board.
- Check the material: make sure it doesn't move around
- Toolhead down: move the toolhead down to z=1.5mm.
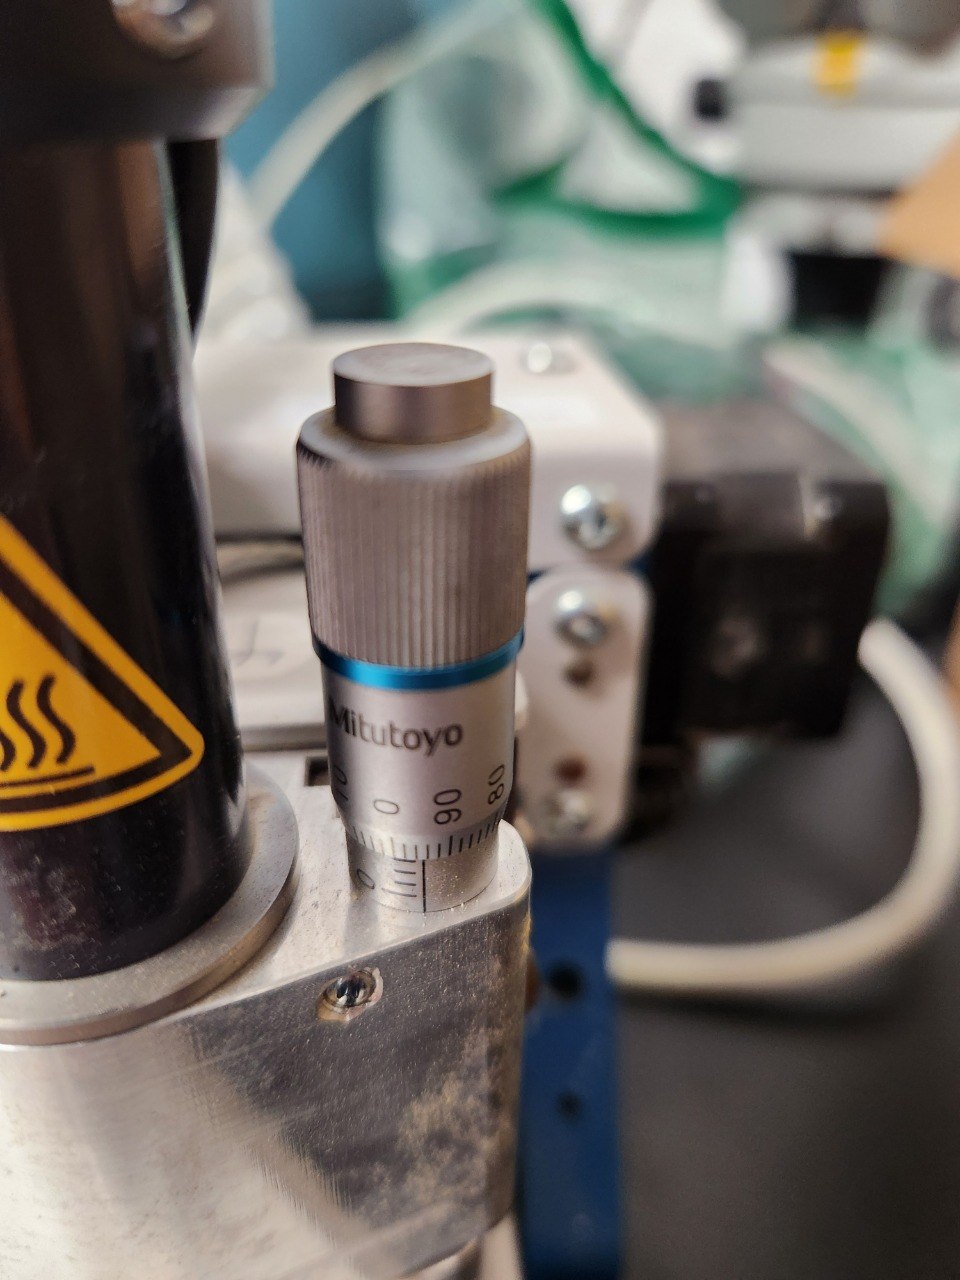
If the toolhead refuses to lower to z=1.5mm ensure your material and underlay plate thickness is set to 1.5mm - Using the microadjustment ring, move the sock down so it touches the board.
- Loosen the tool so it falls down to the board, tap it a few times to ensure it's all the way down.
- Running the test Select
Machining->Milling widthin the toolbar. - Adjustment Move the sock up/down so the cutter goes thru the copper but goes as shallow as possible into the fiberglass.
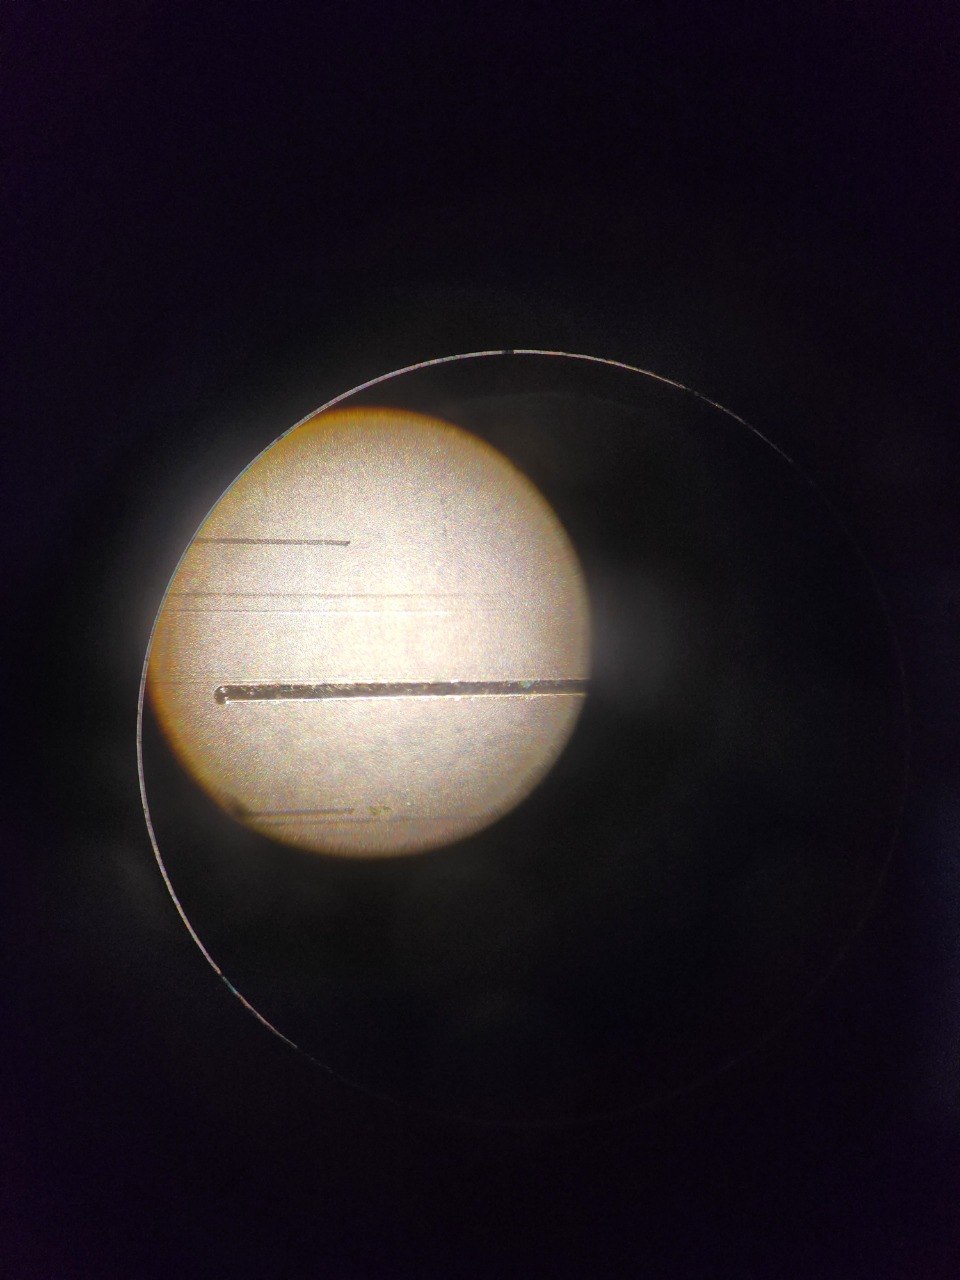
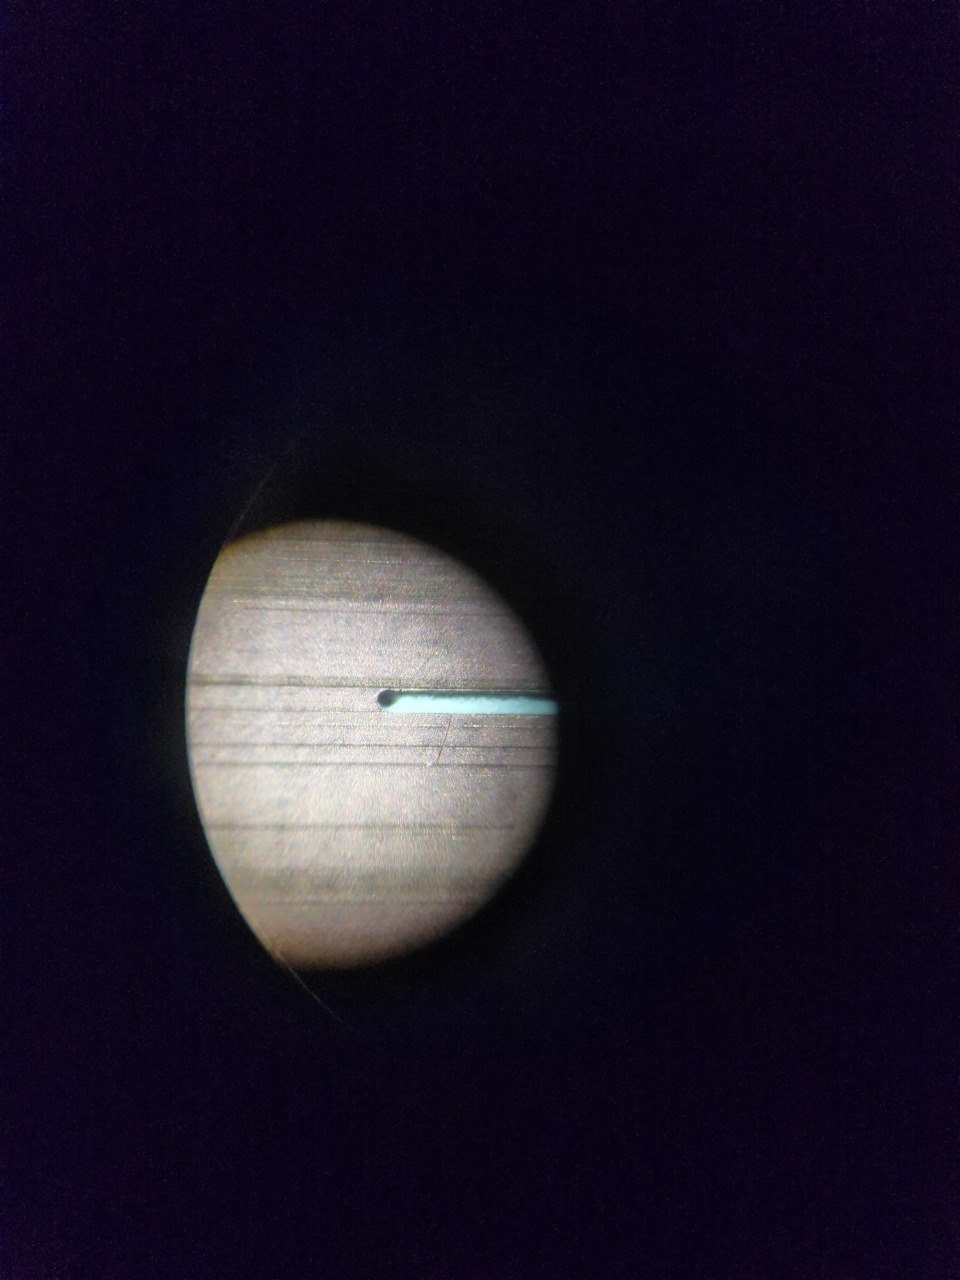
🔍 How to find the right height
| Visual | Meaning |
|---|---|
| Light color / deep cut | The cutter is going too deep into the fiberglass |
| There's still some copper / orange | The cutter is not going deep enough |
| Dark color / Feels shallow to touch | Perfection |
💡 Tip: you can use your nail to check the depth
📸 Visual comparison
Bad calibration (Too high vs. too low)