LPKF ProtoMat E33 & CircuitPro – Single layer PCB guide
1. Preparing the machining data
Project setup
In Circuit pro, choose the One Layer (Top) template.
Go into:
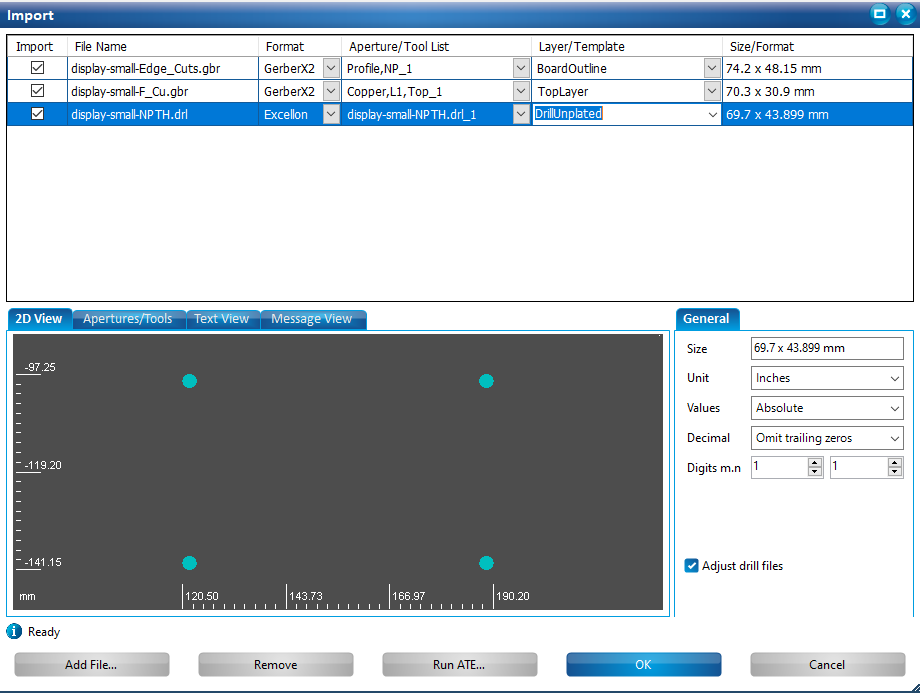
File -> ImportImport your production gerber/excellon files.
For a one layer pcb we only need these:
Top Layer
Drill
Outline
Assign the correct Templates
Tool configuration
Go into:
Wizards -> Equipment configuration wizardIn the Available Tools tab, choose all the mills/drills you have.
Toolpath generation
In CAM View run
Calculate ToolpathWe only need drills to be selected on the bottom left of the dialog.

2. Board Production Wizard
Running the board production wizard
- In the toolbor select:
Wizards -> PCB Production
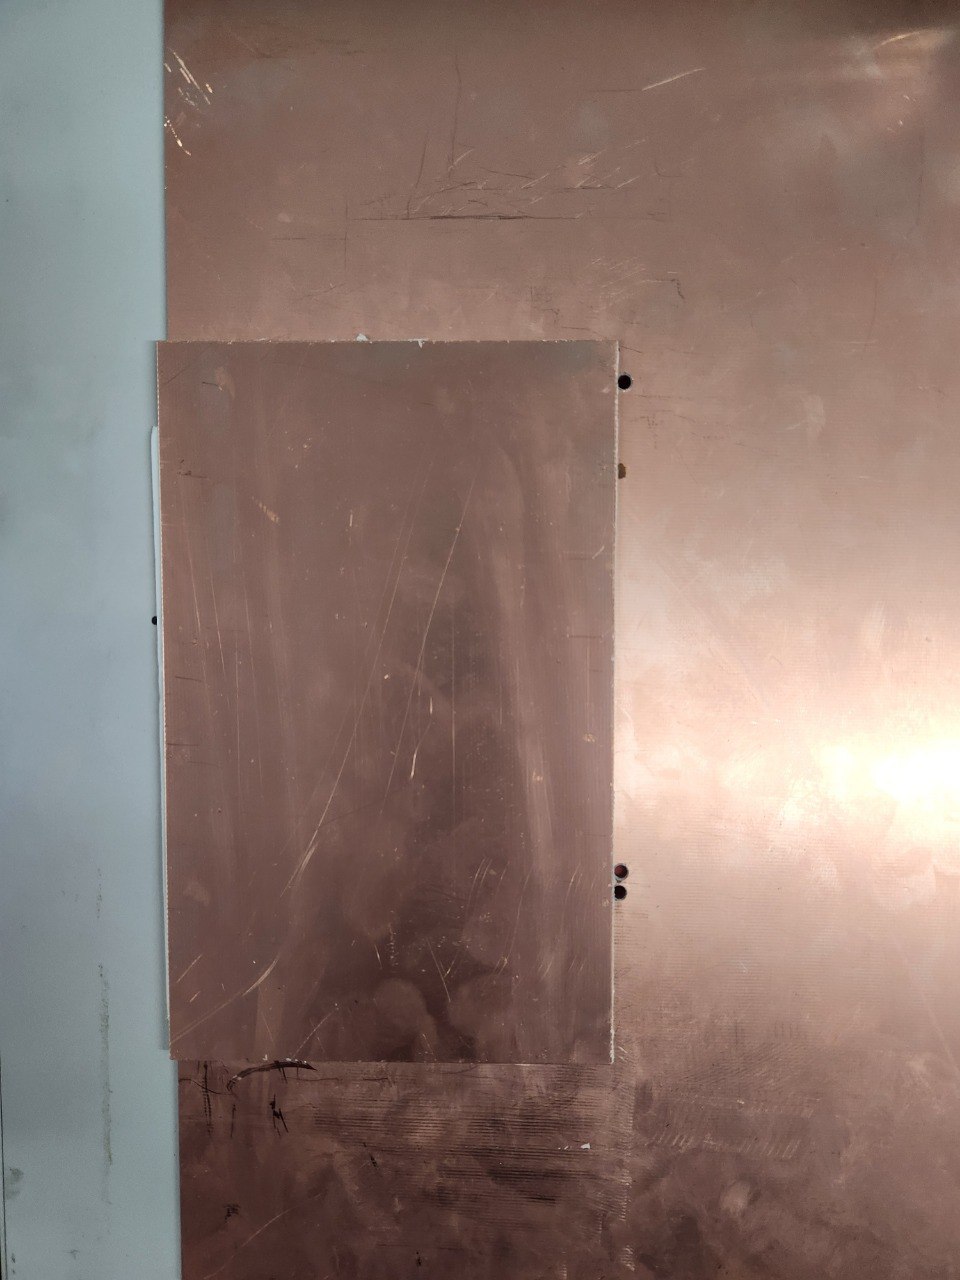
3. Securing the material
- Using a double-sided tape, mount your board on the sacrificial bed.
- Make sure that the board is firmly seated, and aligned

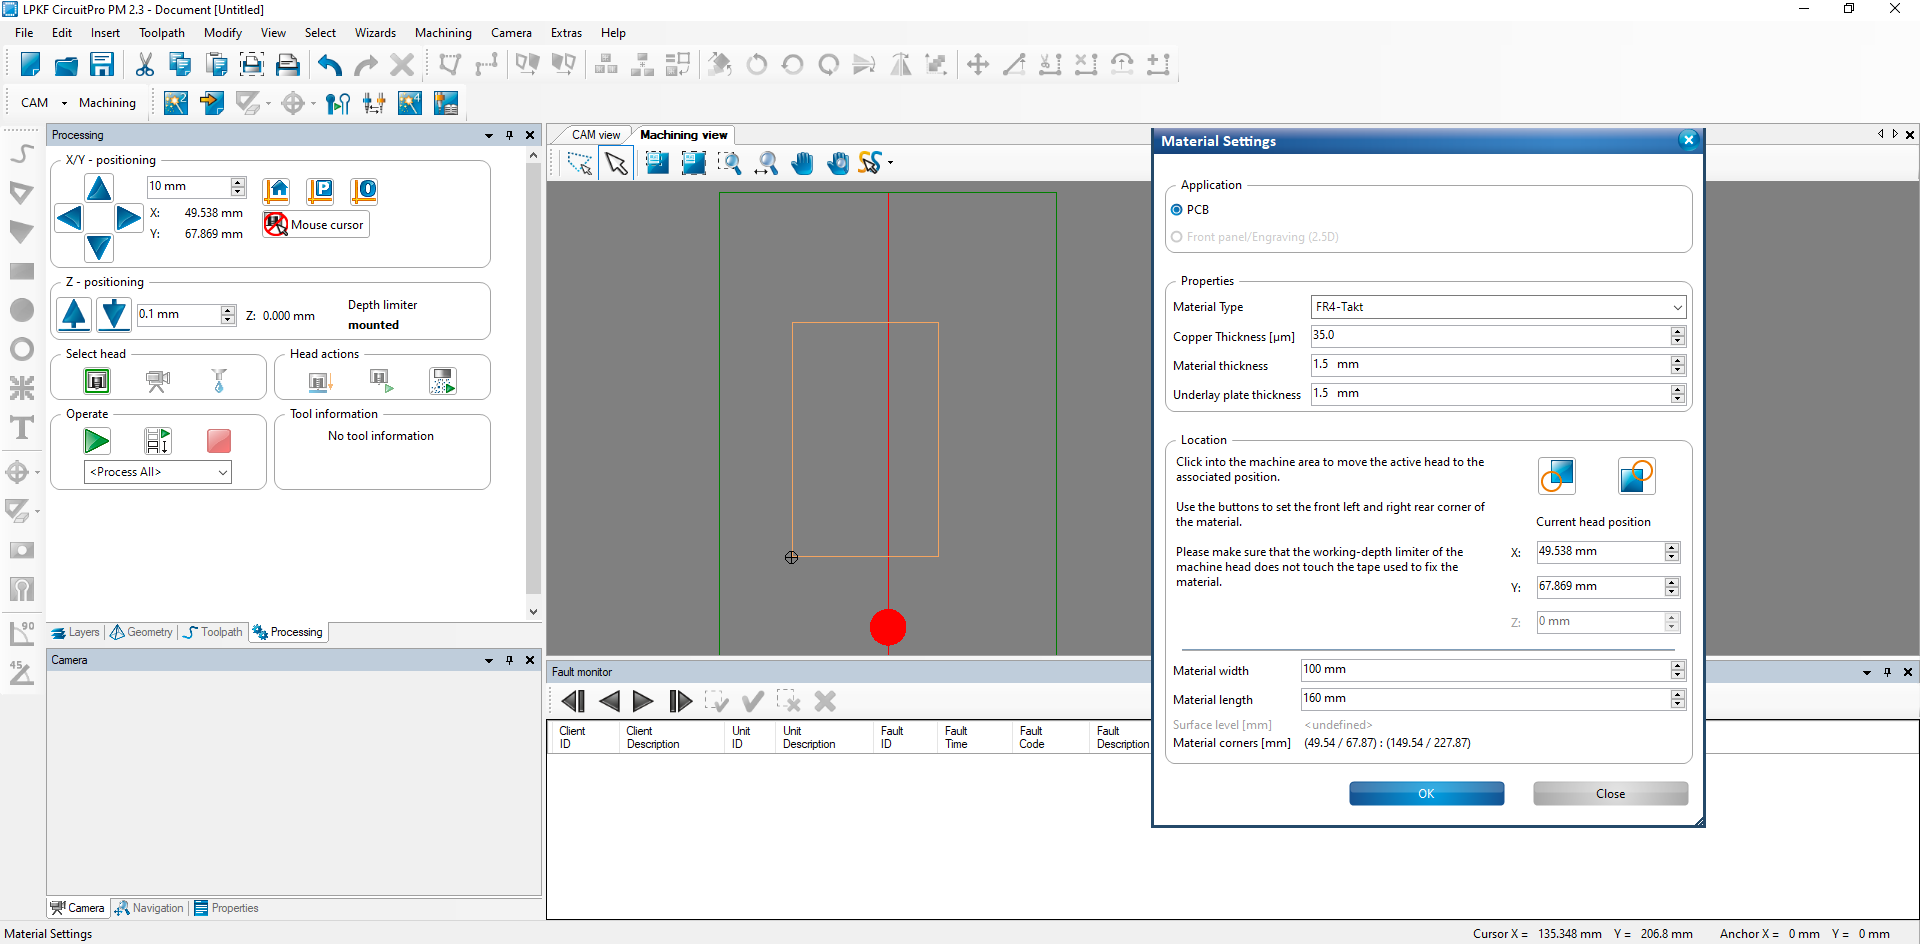
4. Material settings
- Choose your material:
- FR4-Takt
- Make sure to check if copper height is set correctly.
Setting the board position and size
- In Machining View:
- Move the toolhead to the bottom left corner.
- Click on the bottom left icon.
Board dimensions
- Put your boards dimensions into the corresponding fields.
- All set! -> click OK.
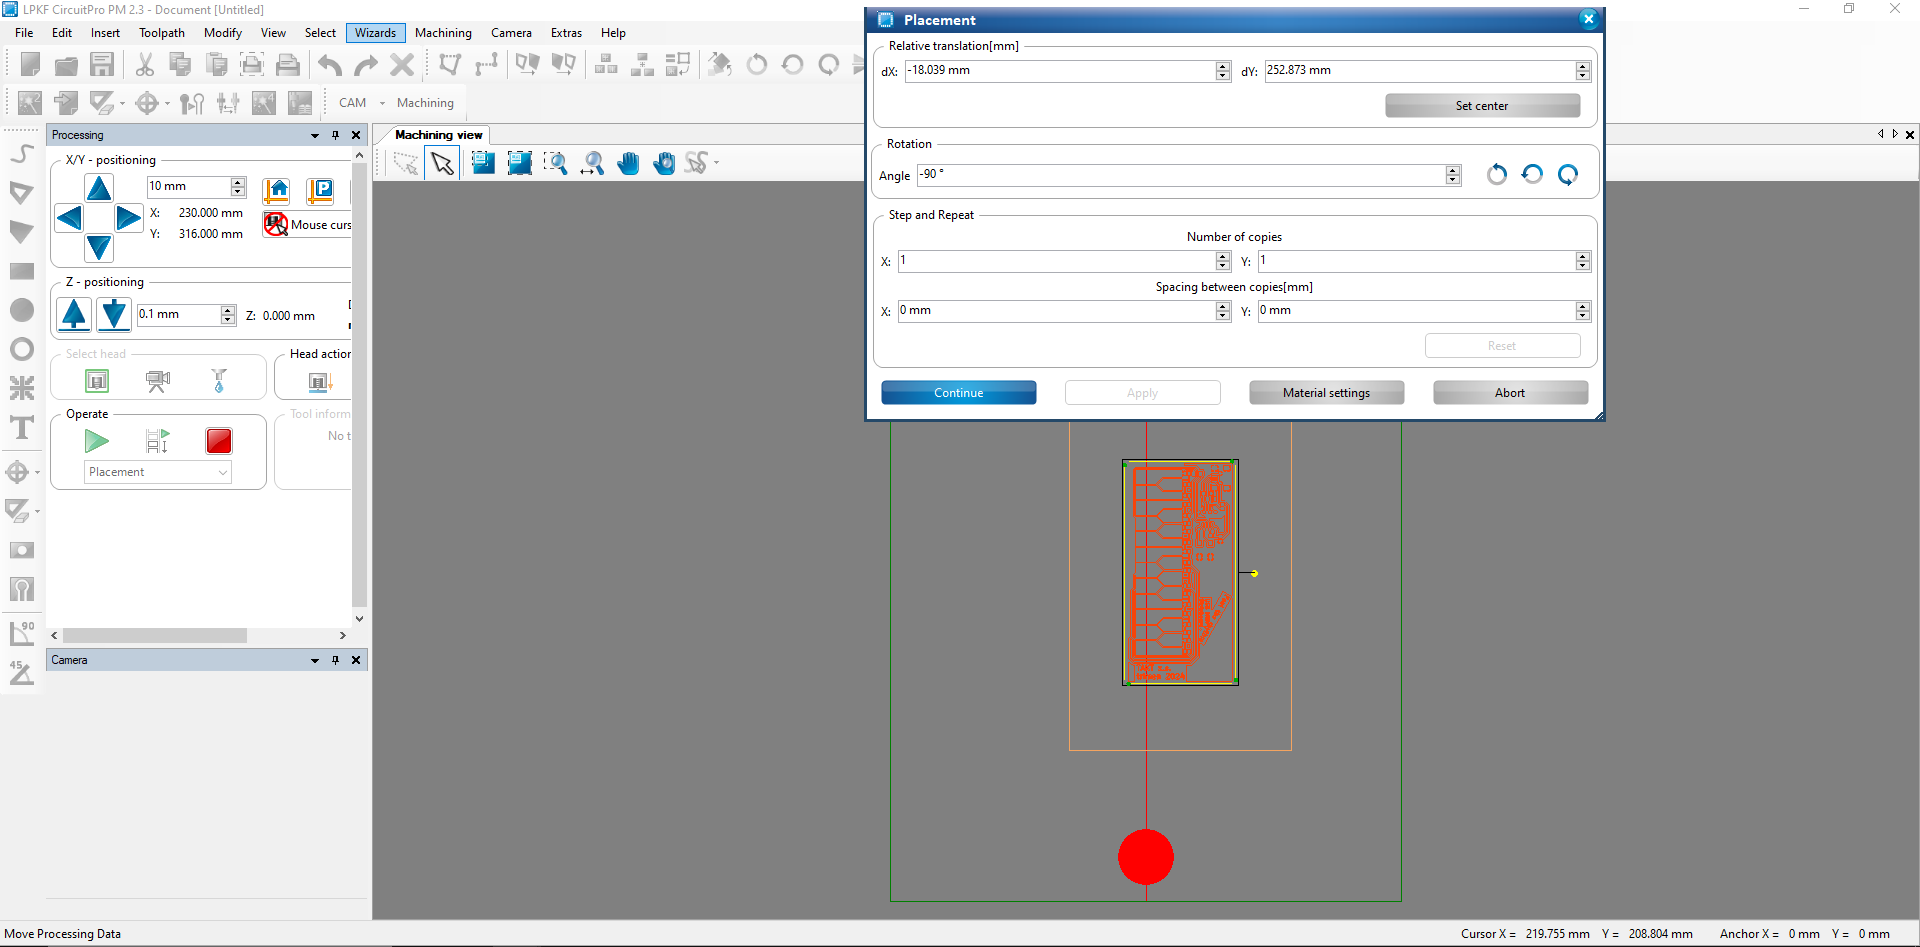
Board placement
- Drag the pcb where you want on the material, make sure the whole milling area is on the pcb.
Tool magazine change
- In the marking drills phase, ignore the prompt to insert a cutter, as Circuit pro ignores the set travel height in this phase. Run it empty.
- Insert the tool the wizard asks for, if it's a milling tool follow this guide
Contour Cutter / Drill
- Make sure the drill/router goes all the way through the board, if it's depth is too shallow, move the sock up,
dont put the tool itself lower. - -> Finish Production